When winter has passed and a new spring season is looming, it is now time to get ready to start planting your next crop. This applies to a raised bed, an allotment, or a field. Before you can plant the next crop into the soil you will need to prepare it to give the new crop the best possible chance of getting established and growing well. This article looks at how to prepare soil for planting potatoes using only basic hand tools such as a garden spade or a fork. It involves lots of hard work but the end result is similar to using powered machinery like a rototiller.
How to prepare soil for planting potatoes
Preparing soil for planting potatoes can be broken into three different sections
- The physical preparation of the soil – digging and breaking the soil into a loose seed bed.
- Preparing the soil with nutrients – potatoes require an abundance of nutrients to grow well – you will need to add some form of nutrients to your plot.
- Preparation of the land/plot– drainage, compaction, and soil type factors should be taken into consideration.
To prepare the soil for planting potatoes using ordinary garden tools such as a spade, you should dig down into the soil at least 8 inches deep and turn the soil out of the ground. This deep digging will break through any hardpan layer in the soil and undo compaction issues. Then turn your spade on its side and break the soil into small pieces to create a loose easily managed soil, perfect for making beds or ridges to plant potatoes into. Incorporate compost or farmyard manure into the soil when breaking it up to add a boost of nutrients to really help your potatoes grow.
The optimum soil for planting potatoes into is a free-draining but moist loam soil, that is loose, well-aerated, and which is high in nutrients. The optimum soil pH for potatoes is from pH 5.5 to 6.5.
1. The physical preparation of the soil
The physical preparation of the soil is usually the last step when preparing soil for potatoes.
I have outlined the steps with accompanying pictures to prepare your soil below.
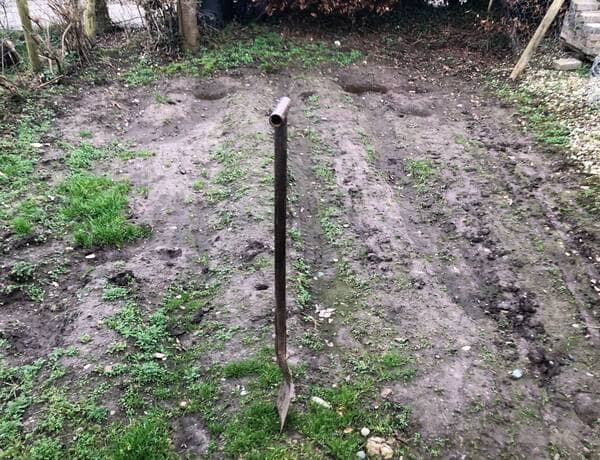
Start at the top corner of your plot and dig your way across from left to right. Then go back to the start and dig the next row below your first row from left to right. I dug a short column downwards to mark the edge of the plot and then began to dig in rows from left to right.
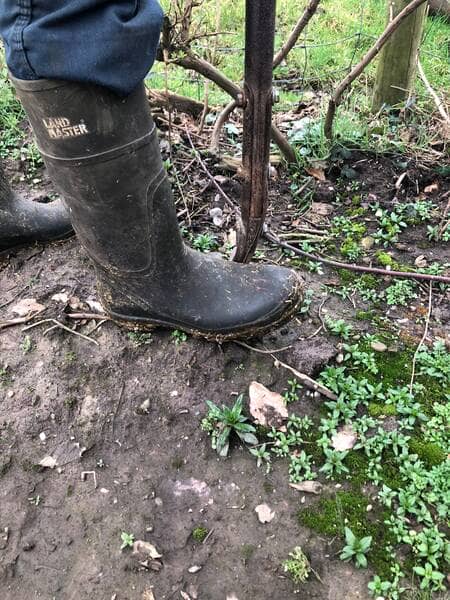
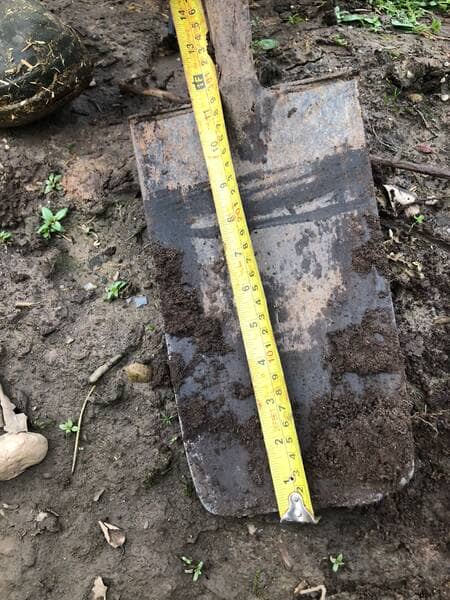
.Push your spade into the soil minimum of 6″ to 8″ deep -get a tape and mark how deep 8″ on your spade if you are unsure.

Only take about 4″ to 6″ of undug ground at a time – taking any more makes the lump of dug ground too large to easily turn over with the spade- plus you could break the shaft of the spade – notice my steel shaft on my spade – been there, done that!

It is a good idea to break up the soil immediately after digging it out of the ground. This means you won’t need to walk over the soil you have already dug to start to break it up. Walking over the dug ground will compact it slightly.
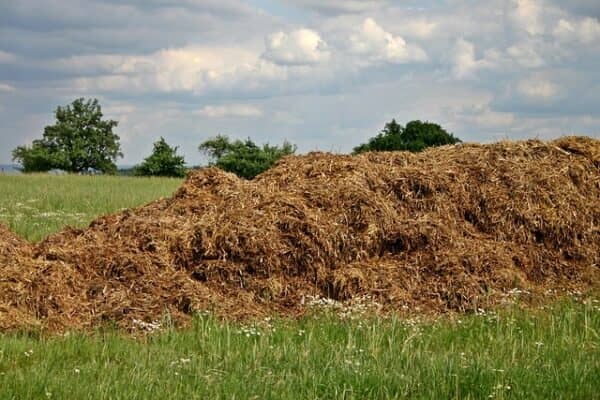
If you will be adding compost or farmyard manure to the soil at planting you should add it onto the dug soil before your break it up – this way you can mix it through the soil when you are breaking the soil up rather than mixing it in again after you have used the effort to break the soil up. It is essential that the organic material is well rotted
If you choose to add compost or farmyard manure 6 weeks in advance I would advise digging the soil over breaking it up and then adding the nutrients onto the dug ground. Then at planting time, you can break up the soil and mix in the amendments in one pass
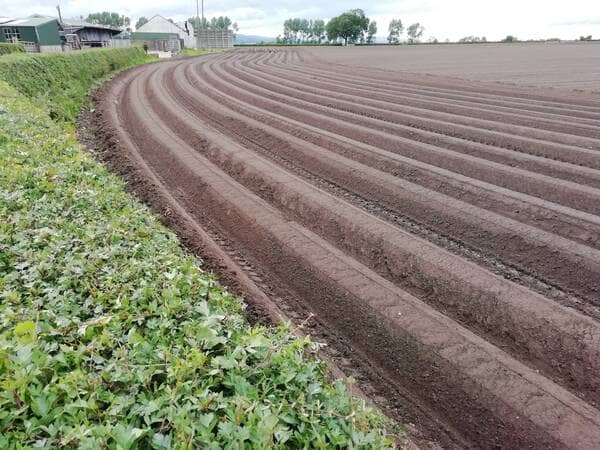
Once you have the soil dug over deep and then broken up nicely with amendments thoroughly mixed through, you can either make drills or beds to plant your potatoes into. I prefer to create drills, as I have found large beds can become saturated with water in the middle quite easily – this causes potatoes to either rot or not grow well.
Note: A tiller is a great way to break up the soil and makes mixing compost and amendments a pleasure!
2. Preparing the soil with nutrients
Organic nutrients such as farmyard manure or compost should be well-rotted if they are applied just before planting, but it is better to apply them 4 to 6 weeks or more in advance. This will give them more time to fully become incorporated and absorbed into the soil.
Adding your organic material in advance of planting also means if some of it is not fully rotted when you apply it then it will have time to rot further under the soil. Organic matter which has not fully rotted can be too high in nitrogen to grow potatoes – it is also difficult to mix easily into the soil if it has not rotted well.
Another aspect of soil nutrition is soil pH. Potatoes prefer slightly acidic soil with a ph of 5.5 to 6.5 – you should test your soil months in advance to allow the pH amendments time to act on the soil. If you need to raise the pH of the soil you will need to add an alkaline material such as agricultural lime or to lower the pH of the soil you should add an acid material such as iron sulfate.
Many of these pH amendments can take up to 6 months to work fully, so start planning early.
3. Preparation of the land/plot
The land drainage under the topsoil should be good – your soil should not have standing water if it hasn’t rained in a while. If you notice the soil is wet even in decent weather you need to get a land drain installed – otherwise the potatoes have a high chance of rotting in the soil.
Another very important part of preparing the soil for potatoes is avoiding compaction. Plants do not grow well in compacted soil, compaction restricts the availability of air, water, and nutrients getting to the plant’s roots. Compaction also prevents the roots from growing larger, deep down into the soil.
If your soil is compacted it will also restrict the drainage of water from the surface – this is why it is important to get down deep and break through any hardpan layers. Get your spade or fork down at least 8″ if possible and loosen the soil. Using a broadfork is a great way of loosening soil and avoiding compaction.
If your soil type is prone to compaction such as clay soil, it is always a good idea to add more organic material to help it become more aerated. Adding well-rotted compost, farmyard manure, or straw to most soil types a few months in advance will help them become more workable, nutrient-dense, and free draining.
To summarise, 1 to 2 months ahead of planting, get your land drainage, soil pH, and your organic manure or compost added to the soil. Then at planting time in the spring, dig your soil over deep to undo compaction issues and get your soil well worked into a fine tilth, and then get your potatoes planted.