We’ve heard it all a thousand times before- preparation is the key to everything- and it is no different when it comes to preparing your garden for potatoes.
Preparing your garden for potatoes
The following applies if you are growing a crop of potatoes in your garden, allotment, or field.
Land drainage and soil sampling
It is important that the land you plant your potatoes into is well drained. You should have noticed any wet areas in the field when you were taking a soil sample as this would have involved walking around the field and taking a sample at intervals in an x layout- usually diagonally across the plot.
Usually, soil sampling and land drainage are carried out after the end of one growing season and before the start of the next growing season, which is any time from October to March. If the plot has very wet areas, these should be drained before taking a soil sample, and as a note, it is better to avoid very wet areas for soil sampling as a lot of the nutrients can be leached out of the soil through surface water runoff.
Most growers will want the drainage completed by February to allow them time to apply herbicides or clear away surface vegetation before ploughing or inverting the soil.
Fertiliser requirement
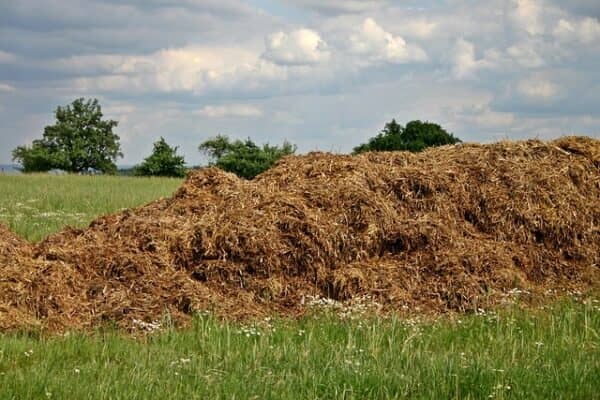
With regard to calculating your fertiliser requirement – consult your soil sample results and check the RB209 Fertiliser manual (UK) to work out how much of each nutrient you need to add. Alternatively, you can add farmyard manure in October/ November and till into the soil in spring. Farmyard manure rates are also in the RB209 Fertiliser Manual.
Removing vegetation
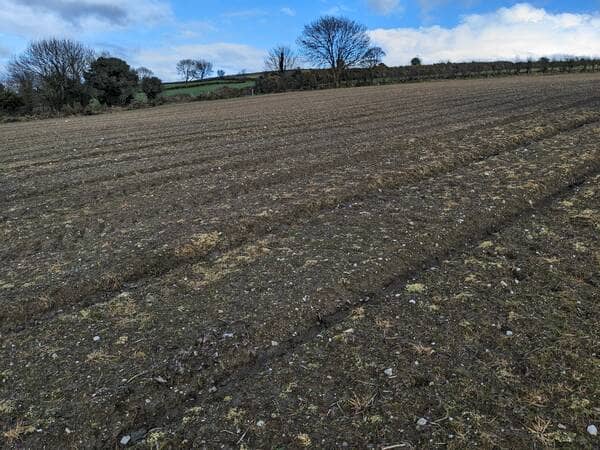
Ideally, you want the plot where you are planting the potatoes, to have well-tilled soil, free of vegetation. So, no grass, weeds or other green material should be visible.
If the plot has large rooted vegetation such as rushes growing on it, it may be a good idea to plant another crop for a year until the large root structures break up and degrade into the soil. Trying to grow potatoes in soil that is full of large clumps of soil or root matter is a horrible experience.
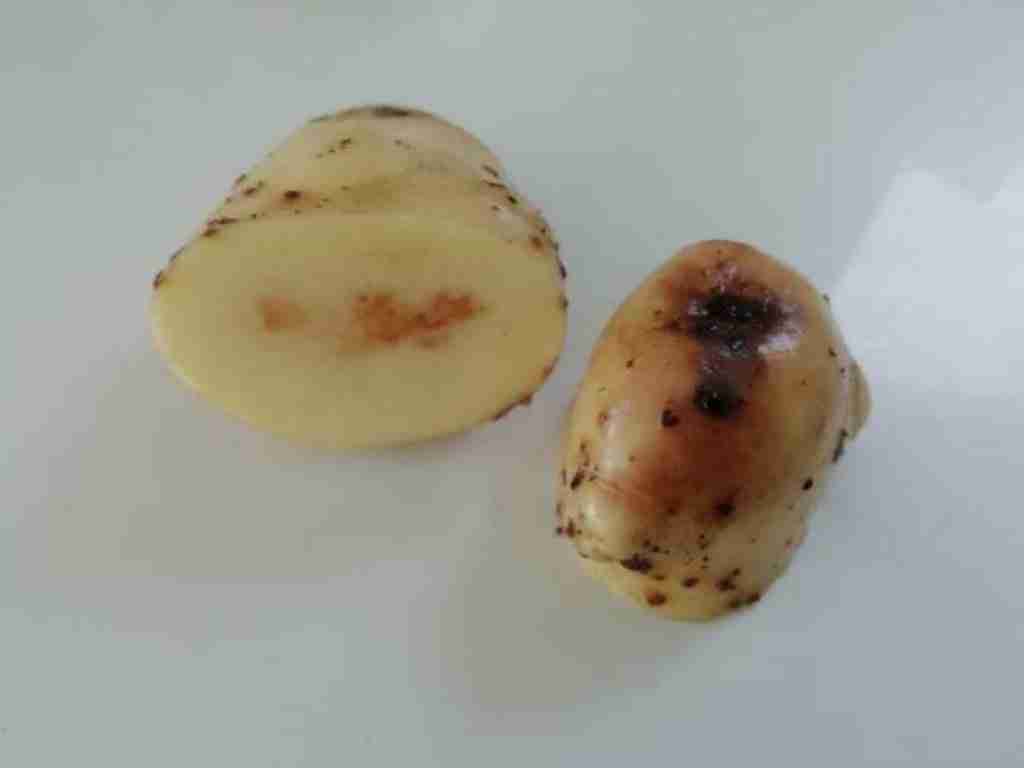
The large clumps make forming a drill an untidy mess, and the drill of soil dries out too easily, this affects moisture retention, which also negatively affects the yield and the potatoes usually have a lot of scab.
Most growers aim to have the vegetation removed by March or April for planting maincrop potatoes in May.
Soil preparation
After the plot has been drained, soil sampled and vegetation has been removed or sprayed off, the land should be dry and ready to begin soil preparations before planting.
It will be well into spring now April – May and the soil should have warmed up enough to plant our chitted seed potatoes into.
The first step in soil preparation is rotovating or tilling the surface to break up any sods or root structures, then the soil is inverted or turned over, either by hand tool or plough, this will leave a clean soil seedbed to plant into.
Before tilling the soil you should add the required amount of potato fertilizer so it is well mixed throughout the soil
The soil needs to be broken up by a rotovator or tiller to a depth of 8″, the soil should be finely tilled and moist.
Planting
Planting the potatoes into rows should happen the same day as the tilling to avoid rain turning the tilled soil into a mudbath. plant at 6-8″ deep from the top of the drill and space your potatoes every 12″ to 14″ apart.
Summary
Although potatoes are planted in spring, the majority of important work is carried out in the months before the growing season begins. Get out and set your wheels in motion early so that you have all your bases covered by planting time.