If you ever wanted to plant a vegetable crop in a grass field you would think it would be simple – plough it, cultivate it, and sow the seed. But it’s not that simple, the way you prepare the land will affect the soil tilth and the weed and grass content of it.
Two commonly used methods of field preparation are: burning off the grass with herbicide for an extended period of time, rotavate and plough. The second method focuses on a shorter herbicide timeframe, no rotavating, with a long time ploughed before tilling. We will delve into these two approaches, highlighting their key steps and considerations for effective soil preparation.
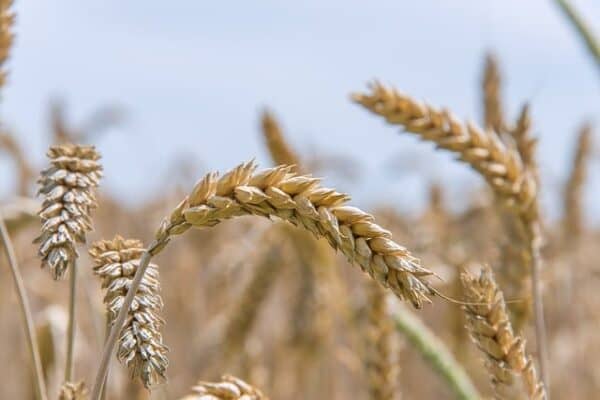
The difference between a seedbed for cereals compared to vegetables
The beauty of preparing a seedbed for a cereal crop is that the ploughed ground is cultivated much shallower which means a grass field could be freshly ploughed and no grass would be pulled to the surface.
This would not work if you were trying to make a seedbed for vegetables. The horizontal spinning blades of a rotavator need to be much deeper and would pull a lot of grass sods to the surface which would cause chaos for trying to create a fine tilth and would bring a lot of weeds to the surface.
To combat this issue of having sods in the tilled soil the organic material on the surface of the field needs be decayed and tilled before ploughing or it needs to be fully inverted when ploughed and left for a long time to break down and decompose before tilling.
Option 1: Using A Herbicide Extended Timeframe for Organic Material Breakdown
To begin the process of seedbed preparation, herbicides are applied to target and eliminate grass and other unwanted vegetation. This step helps reduce competition from weeds and clears the ground for cultivation. The following steps outline the procedure for using a herbicide focus decay:
Application of Herbicide: Apply a suitable herbicide according to the manufacturer’s instructions. Ensure thorough coverage of the grass and organic material. Take precautions to protect hedgerow plants and follow safety guidelines.
Allow Long Herbicide Action: Allow the herbicide to work for a minimum of 8 weeks. This duration allows for the effective decay of the organic material. All the organic material on the surface of the soil should be fully decayed, if it is not totally broken down this strategy will fail. The soil should be easy to see and the organic material should be almost rotted before any rotavating takes place.
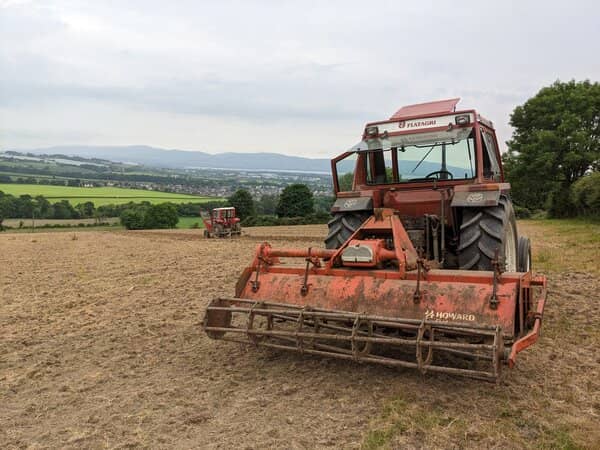
Rotovating top layer to soil: After the herbicide has had sufficient time to act, use a rotavator or similar equipment to work the top 2 to 3 inches of soil.
Rotavating breaks up the organic matter, creating a suitable seedbed foundation. Use a 1000 RPM rotavator to really obliterate the surface – it should look like soil and have no trace of organic material. Don’t let the soil get too dry when performing the rotavating – moist soil is much easier to till.
Take care not to rotavate too deep as this will cause issues with getting the soil to turn over properly at ploughing time.
Immediate Readiness for Ploughing and Tilling: The major benefit of this strategy is that once the surface of the soil has been rotovated and ploughed, it is ready immediately to be fully tilled and prepared for sowing/planting.
There will be no question if the organic matter turned over at ploughing has fully decayed as this has been taken care of by the long herbicide kill and rotavating. The decayed organic material provides nutrient-rich content that supports healthy plant growth.
Failure to have highly decayed grass will mean deep cultivations with a rotavator for vegetable production has a strong possibility of bringing sods and organic matter to the surface which will cause havoc when trying to achieve a fine tilth and it will also bring weeds and grasses to the surface
Option 2: Organic Matter Broken Down Under The Soil Through Ploughing
Another approach to getting a field ready for vegetables is to spray with a herbicide for the minimum amount of time to ensure it has worked.
The grass and organic material will die and turn brown within 2 to 3 weeks – depending on the temperature/season. The ground is then ploughed and left for 2 to 3 months untouched – this allows the grass sods and other organic material enough time to fully break down under the soil.
It is then tilled in spring achieving a deep fine sod-free tilth.
Killing the Grass Layer: Apply a herbicide 2 to 3 months in advance of tilling/planting time to completely kill all the grass, weeds and other organic materials. Once the field has turned brown in 2 to 4 weeks time it will be ready to plough.
This burning off usually takes place in January or February and the purpose is to reduce the number of weeds/ grasses which can grow again when the soil is tilled in the coming season.
Ploughing Over the Grass Layer: As soon as the top layer has been visibly killed off The soil should be ploughed well and left to sit for 2 to 3 months before tilling.
It is even more important to ensure that a good job is made of the ploughing and that all soil is fully turned over with no grass sticking through with this method compared to the first method. A poorer job can be made of ploughing with the first method as there is no green/growing material to bury unlike this method. Over the coming months any patches of badly ploughed sections of visible grass could regrow and show as a mess of sods in the finished tilled ground.
Allow A Full Decomposition Period: Leave the sods buried in the soil for at least 2 months. This duration enables the grass sods to decompose, gradually breaking down into nutrient-rich soil.
Timing Considerations: It is crucial to avoid premature tilling during this period to prevent the rotovator from bringing up sods, which would hinder the creation of a fine seedbed. Patience is essential to allow adequate decomposition.
Tillage After Decomposition: Once the grass sods have sufficiently decomposed, perform tillage operations to create a fine seedbed. The soil will have improved structure and fertility due to the breakdown of organic material.
NOTE- If there are substantial amounts of roots and surface organic material being ploughed under the soil and the weather and soil remain very dry, it may take up to a year to fully decompose.
Considerations Of The Two Strategies
How much organic material needs broken down: It is important that there is not a massive excess of organic material to break down within the timeframe for the first method. If there is an abundance of grass, moss or other organic material like rushes it may need to be broken down with something like a flail topper before spraying.
Organic material will break down faster in the dark and damp under the soil so if a lot of surface organic material is present after flailing it may decompose faster under the soil than if it is left on the surface.
The moisture content of the field and the time of year: When soil is very dry and the weather is hot and dry it will take much longer for organic material to decompose using the first method.
Moisture helps break down grass and roots, so if the soil is absent of it and there is no rain you could be left with a lot of organic material not fully decayed when it is scheduled to be rotavated. If time is running out and it must be ploughed and tilled to get your crop sown, you could end up with a poor seedbed full of sods.
It is essential if you are using this first strategy that it is sprayed off in the earlier wetter months to ensure everything has fully broken down by springtime.
Machinery and chemicals needed: As the focus is on a good weedkill with the first method, it is important the sprayer and herbicide you use is optimal. This is also true when it comes to using a more expensive 1000 rpm rotavator to achieve a really good surface incorporation with the soil before ploughing.
Adaptability when ploughing: As farming is highly influenced by nature this also adds unpredictability.
If it has been a very sunny and dry period and the organic material doesn’t fully decompose during your timeframe for the first strategy or you need to rotavate sooner than planned this can cause problems when ploughing. A hard, dry burned off field will sometimes rotavate into a fluffy mess of brittle organic material which will catch on a ploughs skimmers, which need to be lifted up or taken off.
The plough will need to have discs on each furrow also because dry grass will not allow the plough leg through it easily. This results in large sections of dry dead grass and roots sticking out of the furrows.
This is usually not an issue when using the second method at the ploughing usually takes place in March when the soil and surface material is moister and more easily worked.
Fuel cost: Today more than ever it is essential that farming operations are economical. Using a rotavator twice uses a lot of extra fuel and wearing parts compared to the second method.
Summary
The first method is great for giving you peace of mind that when the field has reached the stage of being ploughed, there is no organic material hidden anywhere providing everything has went to plan. It is a skill to know that a field is suitable for this method to work and the extra fuel cost needs to be accounted for. For vegetables that need the soil to be sieved through a web like potatoes, this is a great method – for other vegetables where the soil is left on the ground like leeks or swedes it may not be critical to achieve such a fine tilth so deep into the soil in which case the second method may be a better strategy. Everything is trial and error – do what works best for you!