In January 2020 we bought a 2WD Fiat tractor to help with soil preparation, sowing, and harvesting of turnips (swedes). This article documents the journey of our first Fiat tractor restoration.
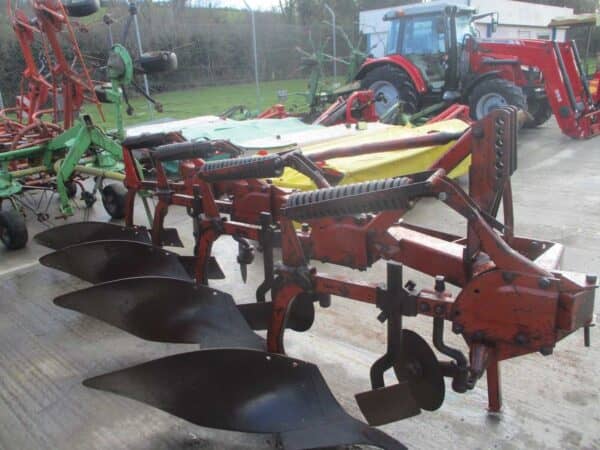
We previously used Ferguson TE20’s or MF35x’s owned by Harry’s grandad. We decided if we were buying our own tractor we wanted something that would be big enough to pull more than a two-furrow plough, power a medium-sized rotavator, and have a cab for the wet and cold weather, which we have plenty of.
The tractor still needed to be small enough to hook to a single-row turnip harvester and manoeuvrable enough for drill work.
Full Fiatagri Workshop Manual – essential for all Fiatagri tractor owners, all specs, disassembly and assembly in one instant download.
Fiat tractors
I had a lot experience of using Fiat tractors in the past and they always proved to be reliable although basic tractors. Basic is sometimes good when it comes to repairs and servicing.
We bought a 1987 Fiatagri 90-90 2wd with a supercomfort cab, it had just over 5000 hours on the clock and was a true rust bucket.
I knew the majority of Fiat tractors have rust issues so I was not phased – I have many years of experience with welding so I would put it to use.

The purchase of my first Fiat tractor
The day I went to look at the tractor it was pouring rain, as you can see from the photo above. It was a 1 1/2 hour drive to get there and I knew the tractor would be rough and probably have hidden faults.
Everything was sold as seen with no warranty, there were lots of tractors and the one i looked at online was down the back of the yard blocked in by tractors on all sides.
New levels of neglect
The cab door had been left open, I climbed in and went to sit on the seat – it was soaking wet. As my eyes lifted from the dirty wet seat I noticed there was moss growing inside the cab along the back window and on the floor. Further up, the roof was leaking badly as the headlining was soaked with water.

I got out to look around the outside of the tractor and could soon feel the rain coming through my coat and jumper before i had a really good close look at everything.
Delivery of the Fiat tractor
On the morning the Fiat tractor was being delivered, the dealer phoned me. He said he could change the battered side engine panel for a good one, but it was not painted.
The lorry man phoned me before he arrived and we took the tractor off in pouring rain. I thought it would have a flat battery but it did start.
Driving to the workshop
As I drove the Fiat tractor over the road to my workshop I quickly realised a few things. I really liked driving it – the wide cab, the sound, and the nice location and shift of the gear change. But I noticed that it was slow I hadn’t driven a 30k tractor on the road for a long time and it felt really slow.
Fiat tractor restoration begins

After i parked the tractor in the workshop i noticed that the left foot brake was juddering – perhaps the brake disc is worn i thought- i noted this and began to strip the full interior out of the cab and place in a safe place along with the windows and doors which i also removed.

I then removed the side panels, bonnet, front cowl and air breather, front grill, battery, exhaust, (i closed over the holes in the air intake manifold and the exhaust manifold) lights and mudguards. I then began to go around the cab and mudguards with a light hammer tapping every square inch to locate and remove any body filler from the tin work. Then i went over all the bad areas with a heavy wire brush on a 4 1/2 grinder.
Welding work
When i had all the bodyfiller removed i then knew what i needed to replace, which was quite a lot. I began on the cab as it was the biggest job. I made a hoist on the shed rafters and removed the cab from the body platform and mudguards and began work.

I cut out all the rusty tin back to good metal and began patching it with new tin. I treated all the internal pieces of the cab metal structure with rust inhibitor and painted it with grey galvanizing metal paint.

When I finished the cab metal work I filled any imperfections with chemical metal. I rubbed it down and painted it with two coats of a 2-pack undercoat and 3 coats of New Holland terracotta top coat. It looked great.


The next part I tackled was the platform and mudguards. I cut away all the rusty panels and formed and welded in the new pieces. Before I painted this part I lifted it up off the chassis of the tractor to take a look underneath.


The chassis
When I lifted the platform off it was to allow me to get a good look underneath and investigate the brake discs contained within the two axle housings. Around this time I was deliberating whether to prolong the refurbishment of the tractor by upgrading the tractor from 30km/hr to 40km/hr. I had been told by a Fiat tractor mechanic that it involved changing the crown wheel and pinion shaft within the back end of the tractor.

This was quite a bit of extra learning, time, and money for me to do, but in the end, I decided to do it as I knew once I would have the tractor rebuilt I would most probably not want to strip it down this far again.
Dismantling the back end
I took off the rear lift arms, the pickup hitch, the hydraulic lift cover, then the PTO housing, and then the two half-axle housings. This was relatively straightforward although time-consuming. When I removed the half axles I noticed the brake discs were not too badly worn but they were non-genuine. I replaced them with new original ones. I also replaced the outer half axle oil seals and wiper seals.

The differential
After removing the PTO housing I could look straight into the back end of the tractor, where I could see the crown wheel which has the differential bolted to it. I noticed there was something odd about it – the pin which held the gears inside the differential was half hanging out and the ends of it were burred where it rubbed against the pto shaft above it.

This explained the rubbing noise I heard driving it up to the workshop – and how hard the tractor was to push when it was out of gear. I was so glad to have decided to put in the 40k crown wheel and pinion shaft otherwise I may have bolted the tractor altogether and then discovered the differential needed replacing – how annoying would that be!
Changing the crown wheel and pinion
I had a chat with a local tractor mechanic who has worked on Fiat tractors for 30 years and he agreed to fit the crown wheel and pinion shaft – there are shims to be fitted on either side of the differential and for what it was going to cost me i easily decided that the Fiat tractor mechanic would do it.

New engine crankshaft oil seal
I noticed when the tractor was sitting in the workshop that it had an oil leak – I had suspicions that it was engine oil coming from the rear crankshaft. I replaced it as it only cost £40 and it successfully stopped the oil leak.

Bolting it all together again
When I got the back end back from the mechanic with the new 40K crown wheel and pinion I then began to bolt it all together again.

This took a long time but it was worth it when I got to drive it down the road – the new brakes were sharp, the new lift pump gave fast hydraulics at tick over and the 40K box was great on the road – the whole tractor feels new and tight. Harry and I are so happy it is in good working condition now.


I hope this article is useful to you in some way – I have many more images if you need anything just send me an email. How do you think it has turned out?